With a lot of help from Gertie's Craftsy Course: Sew Retro Bombshell Dress, I finished this big sewing project. And, because it took a lot of hand-work, hand-sewing, and thoughtfulness, I thought I might walk you through the whole process. In a following post or two, I'll show you the final dress. ((tee hee anticipation))
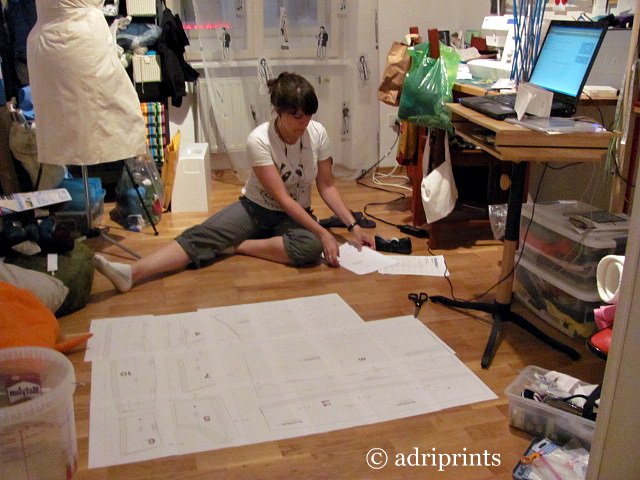 |
| cutting out the paper pattern |
In the beginning there were the muslins (also known as toiles, dummies, mock-ups, calicos, etc.). A few of them. These were to make sure the final dress would fit me since we knew the original pattern was a bit too small in some areas. Thanks for the larger bust modification chapter, Gertie!
 |
|
muslin #2, see the cups? they are a little too pointy in this version |
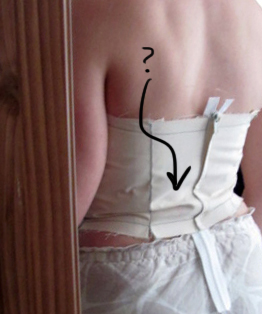 |
| uh-oh! see that gathering... I had to adjust for a swayback |
|
Muslins take a bit of work because you're sewing the actual pattern pieces together, then wearing them, adjusting via markers, pins, mirror, etc. And all except the last of them ended up in the scrap bin. But, when the muslin finally did fit my particular body specialties, I transfered the seam-lines onto fresh muslin and paper (for prosperity and reuse) and cut into the fashion fabric ((scary!)).
Spoiler Alert... It all worked out! Yay for little victories!
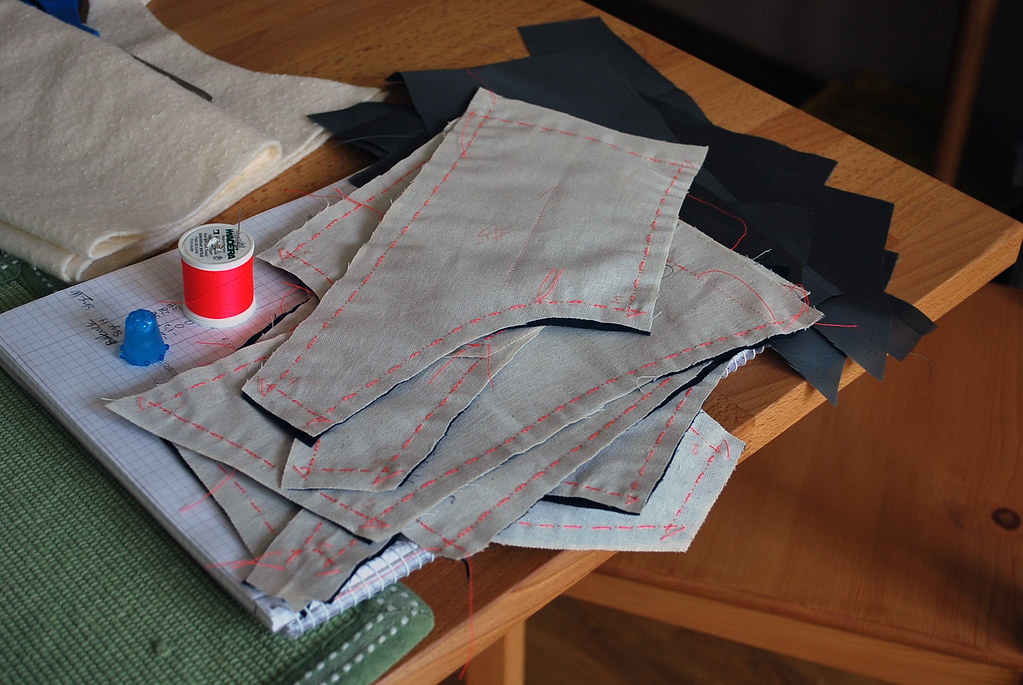 |
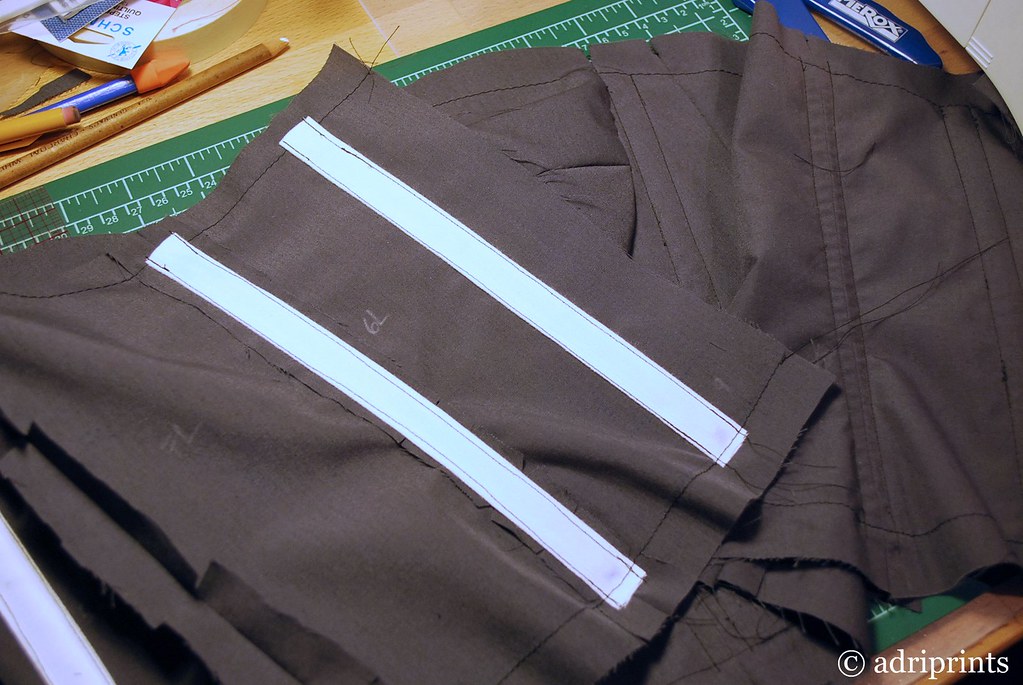
| the pattern pieces, thread traced (c) adriprints |
Once I cut into the dress fabric, I had already sewn the main pieces about four times. So, this part went quickly. Then batting (or foam or whatever you choose) is added to the bodice cups for stability. This part was a lot of fun. I loved sewing the cup pieces together and then adding them into the bodice. You think you're halfway through here, but you're not. You still have to build the inner lining and the skirt, remember?
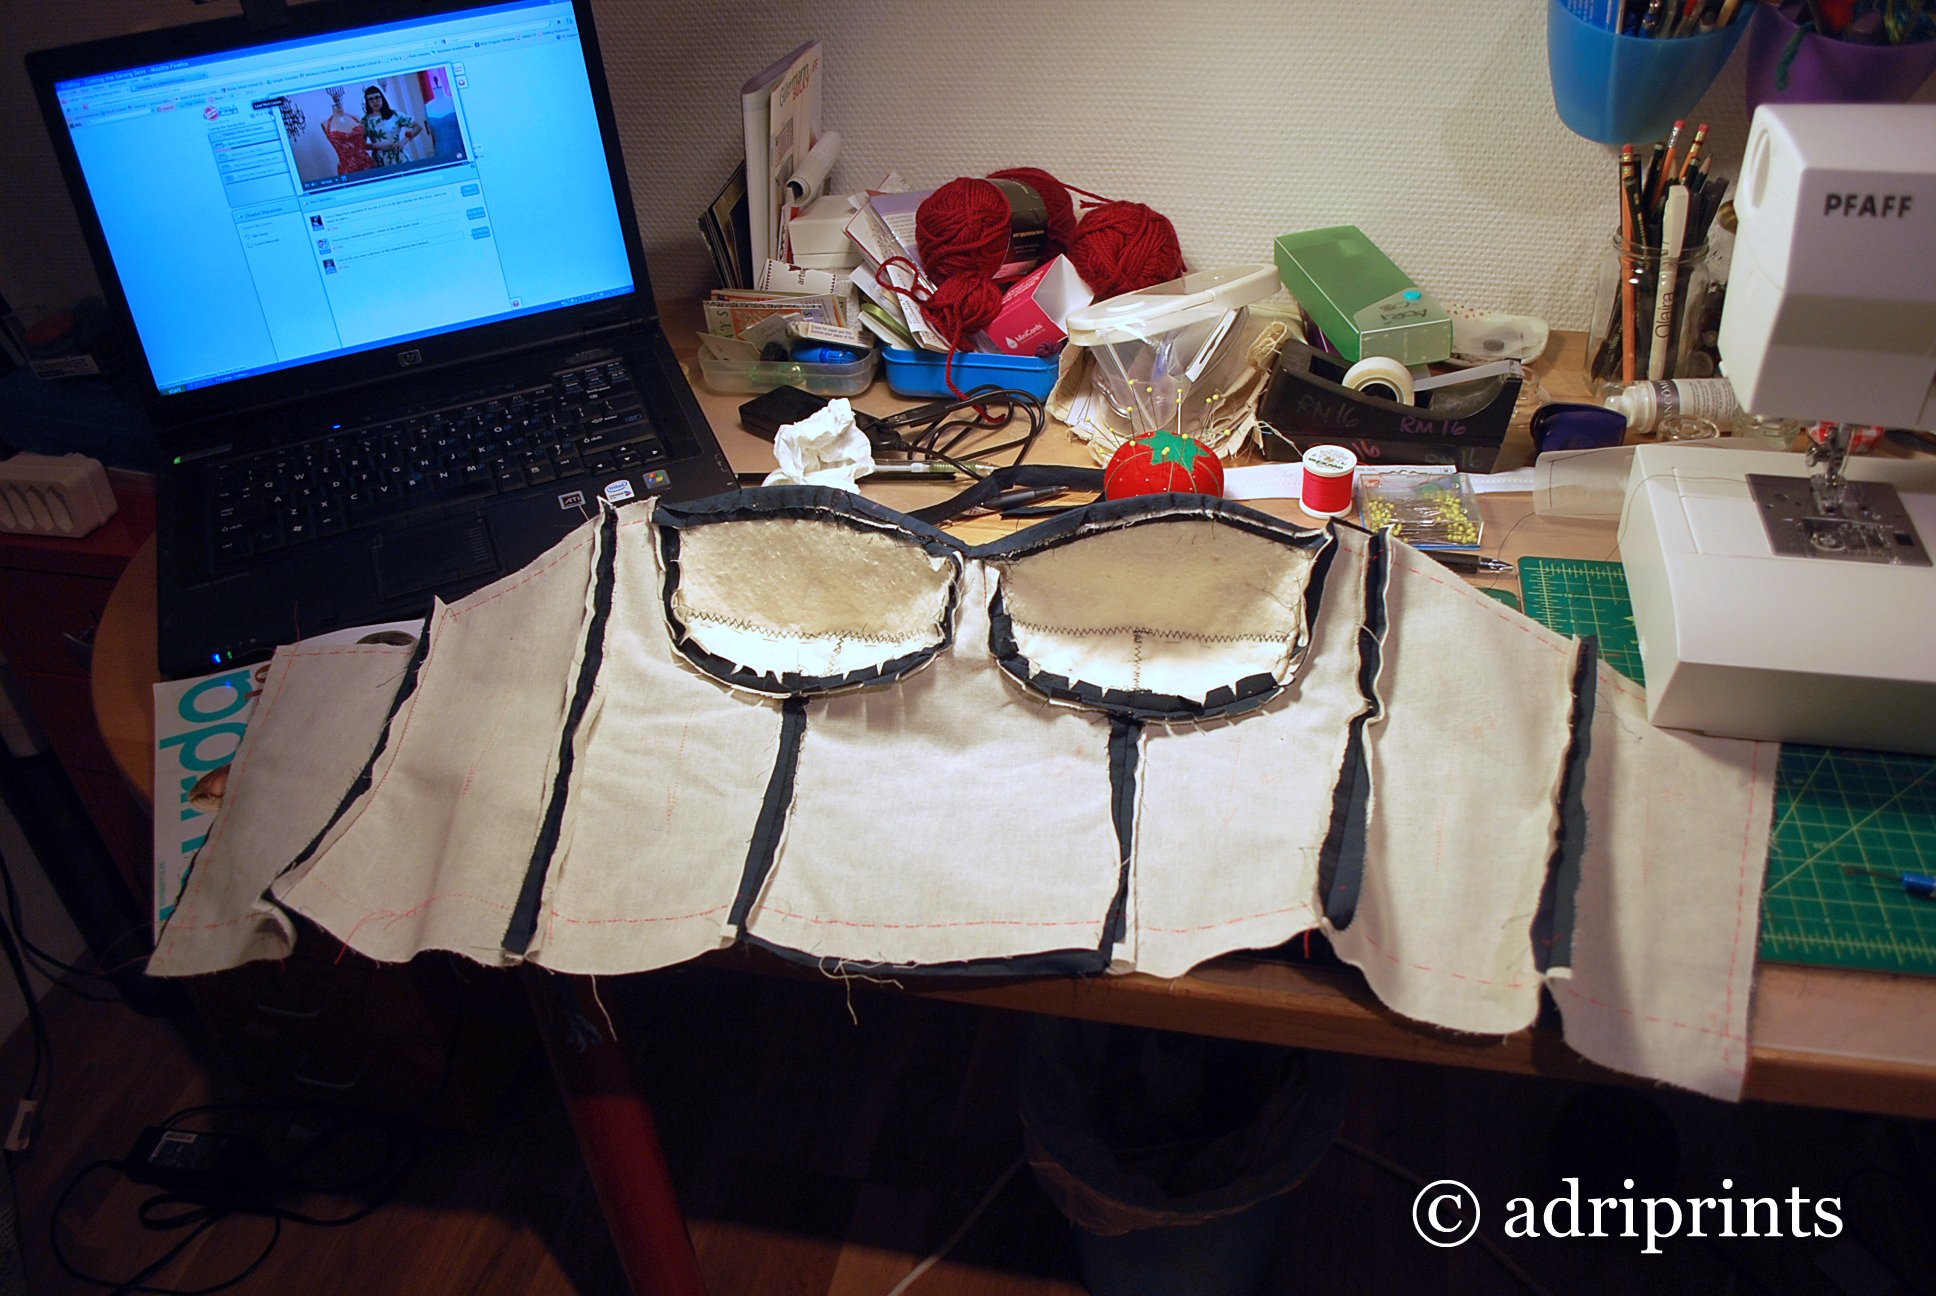 |
| the cups are stable! oh, and learn from me... leave more seam allowances. |
After the cups are in, you add the skirt to the bodice, and insert the zipper. I had to re-do the waistline and revert to the original waistline. I am high-waisted! Then, I made the inner lining which holds the boning for more structure. I thought I would have to wear a bra with this one, but not so; it's so secure it's not necessary!
 |
| the inner lining with the casings for the boning |
After this, it's just a matter of hand-sewing that inner lining to the bodice and making sure everything's in place! Photos of the final dress can be found
here.