
Two-Part Nappies Revisited: Part 2
admin
A quick tutorial on how to make your own diaper inserts using my pattern (or your own drafted pattern).
These diaper inserts require an outer waterproof cover of some kind, and will fit from newborn to 6kg+ (at least they're still working for us!).
Materials
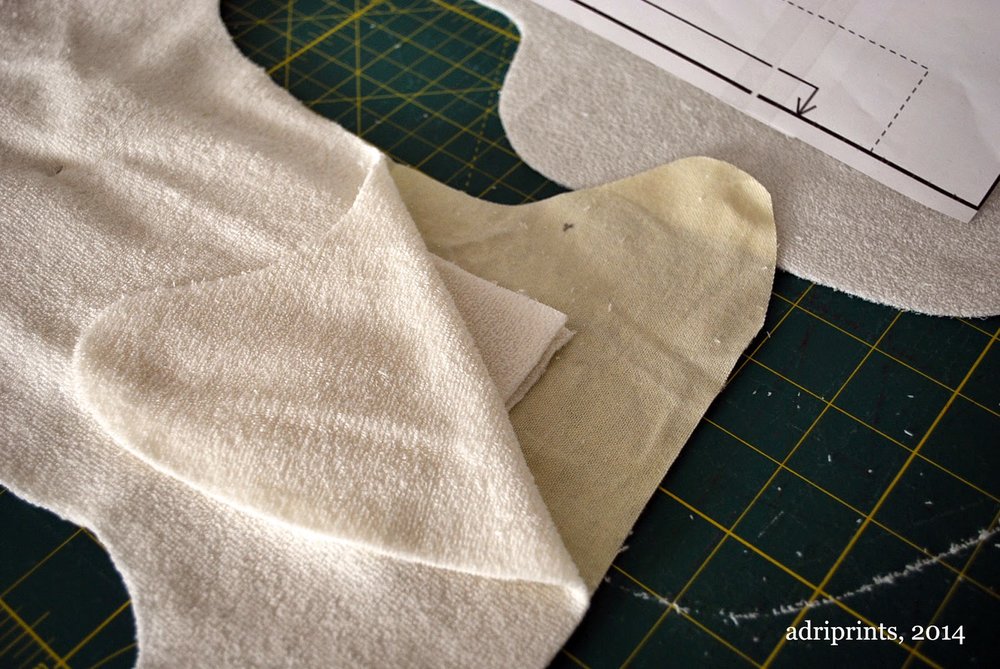
1- Place the paper pattern on the fold, and cut your materials for the diaper insert. Don't forget to transfer all markings to your fabric.


Wash a few times, and then let baby poo all over your work! Hahah!
These diaper inserts require an outer waterproof cover of some kind, and will fit from newborn to 6kg+ (at least they're still working for us!).
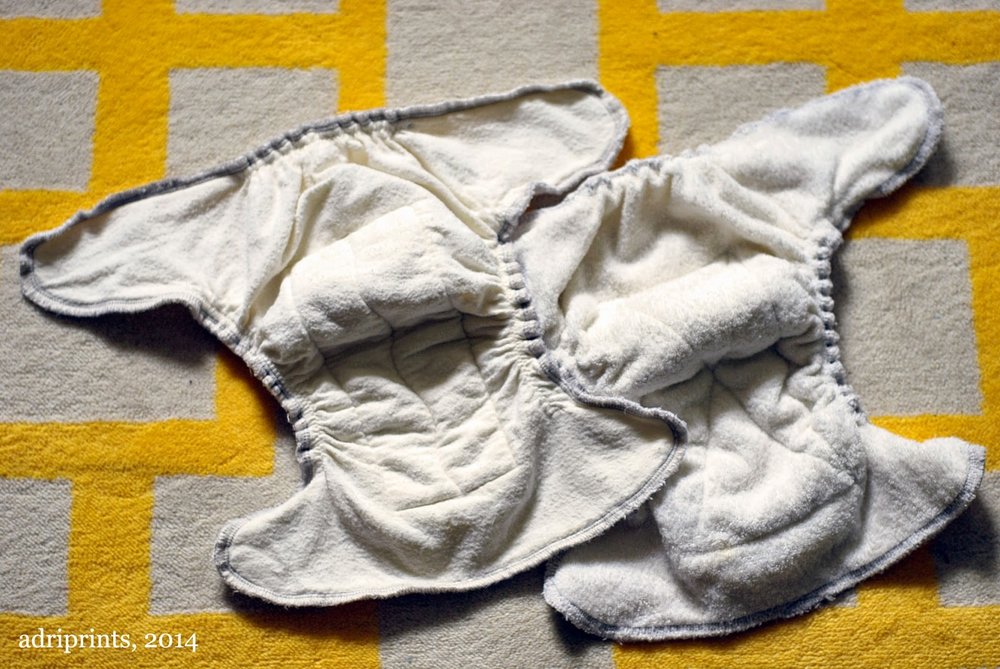 |
| the absorbent inserts inner flannel / outer terry cloth |
- Absorbent fabric (German term in parentheses) such as flannel (Flanell/Molton), terry cloth (Frottier), hemp fleece (Henf), or jersey, etc... Feel free to recycle materials you already have; like an old flannel blanket, an old sweatshirt, or a towel. I use terry-cloth on one side because I like to use Snappis and avoid hook & loop closures, but feel free to use whatever closure method you want.
- Elastic (I used 1/4" wide elastic that is resistant to high heat)
2- Cut fabric for center pad (it's that center rectangle with the dotted line in the pattern). I cut 2 layers of bamboo terry-cloth.
3- Layer the 3 elements as follows: absorbent material #1, pad rectangle(s), absorbent material #2.
Center the pad, and secure all three layers with pins.
4- With the smoothest fabric facing up, sew 1/8" to 1/4" within the four edges and across the center of the pad to secure it in place.
5- Measure the elastic band for the sides and top, then cut elastic 2-3” shorter than the measured length.
6- Tack both ends of the elastic where indicated and pin at the center. Make sure to leave a little space on the outer edge for finishing the fabric.
7- Use a zig-zag stitch to attach the elastic on the back of the insert and the leg openings, stretching the elastic between the two outer layers as you go.
8- Use a zig zag stitch or overlock around all the outer edges to finish. I stretch out the back and sides while feeding it through the overlocker. I do not serge over the crinkled/gathered edges.
Wash a few times, and then let baby poo all over your work! Hahah!